In case you didn't already know this, Raspberry Pi is an absolutely brilliant piece of hardware. It is gold when it comes to doing fun and crazy experiments, and I personally think it's a device that every developer should own. There are a lot of things that you can do with a Raspberry Pi, but in this article, we are going to make a dev server for your team. So let's get started 👨🏻💻

1. Prerequisites
First things first, this is ideal if you have a small team working in the same office as you or if you work alone. If that's not the case, don't worry, I have this coupon for you. Anyways, to start, you need the following things in starting.
Hardware
1. Raspberry Pi (duh!)
2. Wifi dongle or Ethernet Cable
3. Micro SD Card(8GB+)
4. HDMI Cable*
5. Monitor*
6. USB keyboard*
*optional
Software
7. BalenaEtcher 👉🏼 Download
8. Raspbian Stretch Lite 👉🏼 Download
or
8. Ubuntu 👉🏼 Download
2. Booting the Micro SD
For this, we will use BalenaEtcher. Although it's completely optional, if you are a beginner, you'd prefer this. This makes it really easy to install and saves a lot of time.


If not, these commands can be used:
diskutil list
Recognize your card using this command as this command will give you a list of all the drives available

Next, unmount your disk using:
diskutil unmountDisk /dev/disk3
Now flash your card using this command, and do remember to change values according to your computer:
sudo dd bs=1m if=/Path/to/image/ubuntu-16.04-preinstalled-server-armhf+raspi3.img.xz of=/dev/disk3 conv=sync
To check status, press cntrl+t. If something breaks, check this guide.
3. Running the Raspberry Server
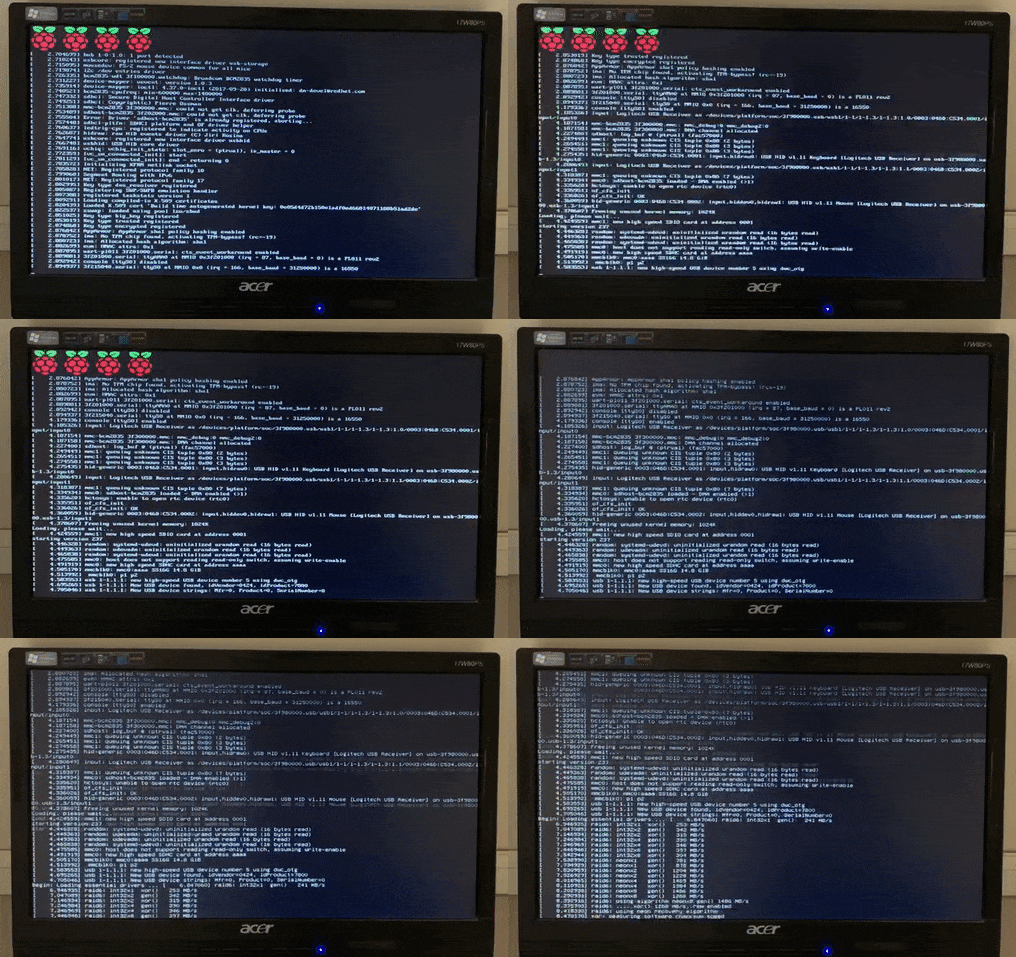
So in this section, I will demonstrate how to set up your server with the Raspbian image. When you plug in power and see something like this, that means you are good to go, give it some time to boot up.

NOTE: If you have Ethernet cable, you don't even need a monitor, though if something goes wrong with bootup, you won't be able to debug it. So it's good to have one.
After bootup, It will ask you for username and password. Following are the default values:
Default Username: pi
Default Password: raspberry
Once you are logged in, check if the internet is working fine by running ping 8.8.8.8. If everything is working fine, these are the commands that you need to run next.
apt-get install update
apt-get install upgrade
Now, this is the most important step to set up your Raspberry Pi, run:
sudo raspi-config
This command is your friend. Using this, you can configure pretty much anything in Raspberry Pi. Here are a few useful ones:
Go wireless with a Wifi Dongle

Add a Wifi name and password, and boom! You are done.
Enable/Disable SSH

Expand Filesystem

By default, all the space on your SD card won't be available to you, but using this, you can have all that good space.
Connect to Internet While Boot Up

Most important, this will ensure that your server is connected to the internet.
4. Connect to your server 🥳
Finally, connecting now is really easy. Just use command:
ssh pi@your-ip-address
Note:
1. If you don't know your IP address, use/sbin/ifconfig wlan0
2. You should be on the same network as the Raspberry Pi

Now, let's install nginx on our server with this simple command.
sudo apt-get install nginx
After this, open your browser and add the IP address of the Raspberry Pi. If everything is good, you will see this.

CONGRATULATIONS! YOUR SERVER IS UP AND RUNNING!!
Conclusion
I hope you guys will enjoy doing this as much as I did. I will make sure to post more such experiments. If you get stuck somewhere, feel free to ask questions in the comments section below.
Okay guys, I have to go now. Throwing a party in the office with all that 🤑 money 🤑 we saved today. 😂😆

